
Getting started
Fake.REST designed to speed up the development by mocking up the REST API for the developer's needs. If you have never used Fake.REST before, this tutorial will help you getting started.
API Projects
Projects are containers for the API. All projects have their own UUID and mock API URL's separated respectfully. For example for the project with ID: af0a3a84-8ae6-41e8-80d6-2fc9454d6305 The root URL will be:
https://api.fake.rest/af0a3a84-8ae6-41e8-80d6-2fc9454d6305
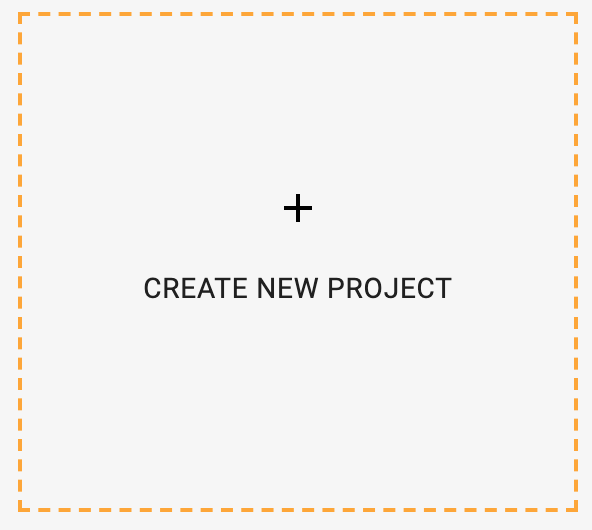
To create a project login to the service and press + CREATE PROJECT button, fill project name and press Create.
After project created or selected you will see the project page like on the screenshot:

Here you can find a list of all created API methods. By clicking on the method name you will switched to the method parameters page described below. From the right side of each method you can find an action button with actions menu.

To return to the project list simply press on the top left Fake.REST logo:

Create API Method
Next after project is created you can create an API methods. The Methods tab is active by default when project opened.
On top of the page located base API URL. This URL could be used as root url in your application for API.

To create a new method simply press the  button.
Fill the form and press Add new method dialog button.

Edit API Method
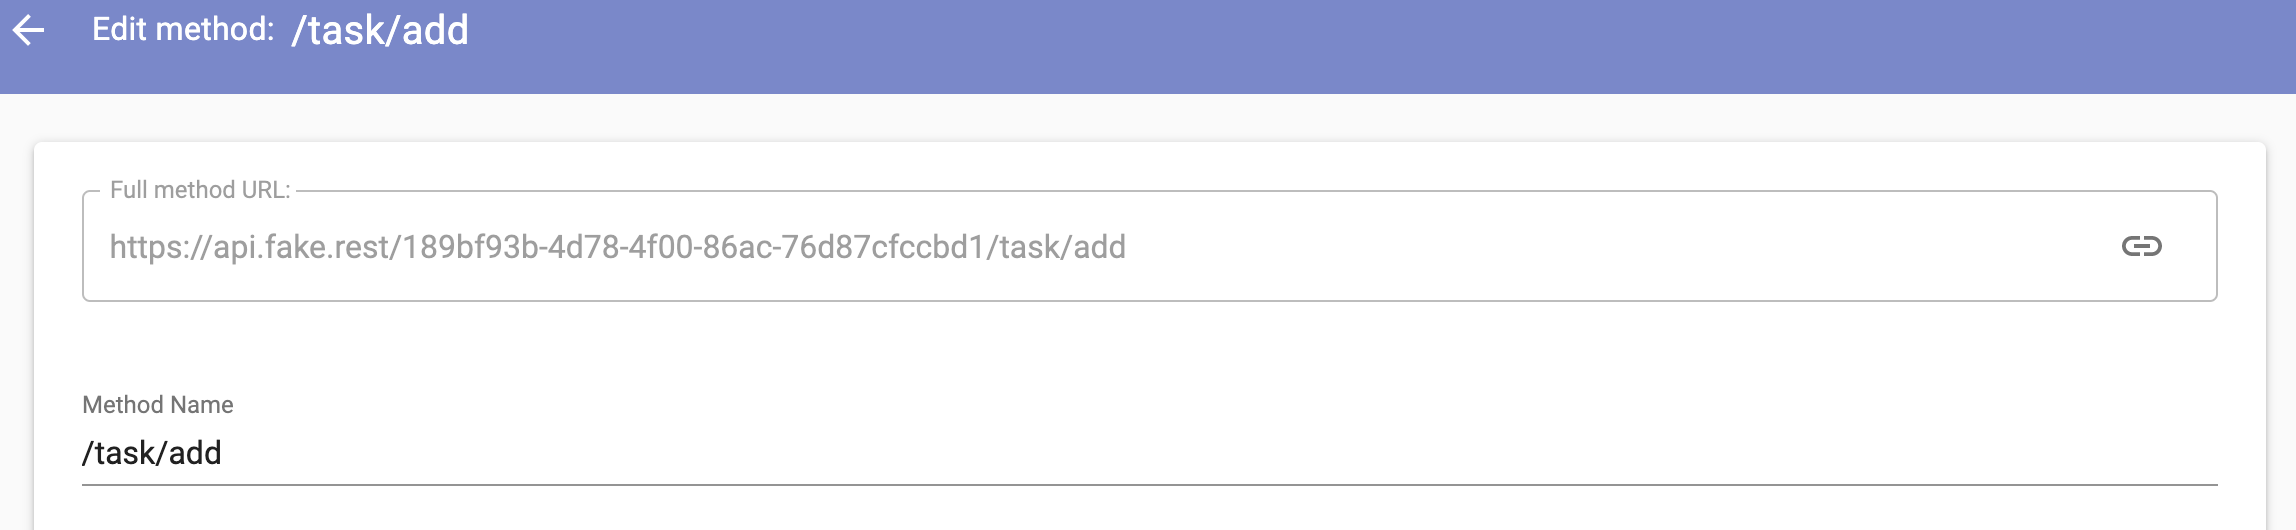
After Add new method dialog you will see the Edit method form. Here you can define all nessesarry properties for the API endpoint.

Dont forget to press Save button after you make a changes. After method is saved you can make a request to its endpoint. The Endpoint URL located on top of the edit form and have a following pattern:
https://api.fake.rest/id_of_your_project/method_name
Fields description
Method Name - In this field you can set new method name. The same name can't be used several times in one project.
HTTP Verb - The HTTP method that request should be sent with. For each HTTP method you can define its own response. If you need a new method you can do it with + button on the right of the tab.
Redirect to - If this option enabled, then request will be redirected to the defined URL with code 307 and with the same HTTP method
Headers - If this section you can define custom headers key, value pairs for the response.
Response Code - The code which server returns with response.
Content-Type - The value of Content-Type header field.
Method script - Here you can define a some logic with JavaScript to save or retreive some data to the Store Arrays. For more information please read the Scripting Overview section.
Response body - Here you can define the body of the response. It could be any text. Or JSON.
The body could be autogenerated in case you use one of the template syntax of one of Dynamic templating sections
For example with following template:
{
  "success": true,
  "data": {
    "[3..5]": {
      "name": "{{name.firstName()}} {{name.lastName()}}",
      "age": "{{random.number(14, 70)}}"
    }
  }
}
Response body will be similar to this:
{
  "success": true,
  "data": [
    {
      "name": "Ulices Murazik",
      "age": 25
    },
    {
      "name": "Joanny Bogan",
      "age": 17
    },
    {
      "name": "Rossie Kulas",
      "age": 66
    },
    {
      "name": "Marjorie Gaylord",
      "age": 66
    },
    {
      "name": "Rhianna Purdy",
      "age": 51
    }
  ]
}
You can also use results of Method Script and Store Arrays in the template. For further information please read the Scripting Overview section.
Enabled - Set API method enabled or disabled. 404 - Error will be returned in case of disabled
Store Arrays
Store arrays is the concept for storing custom user data in the service. Each Store Array is limited to 100 records. After limit is reached new records leads to deleting of the first record in array shifting it to the left.
Store Arrays accassible from method scripts. Any changes you made in array in the method script will be saved. Thus it is easy to make a CRUD methods to emulate work of the real Back-end.
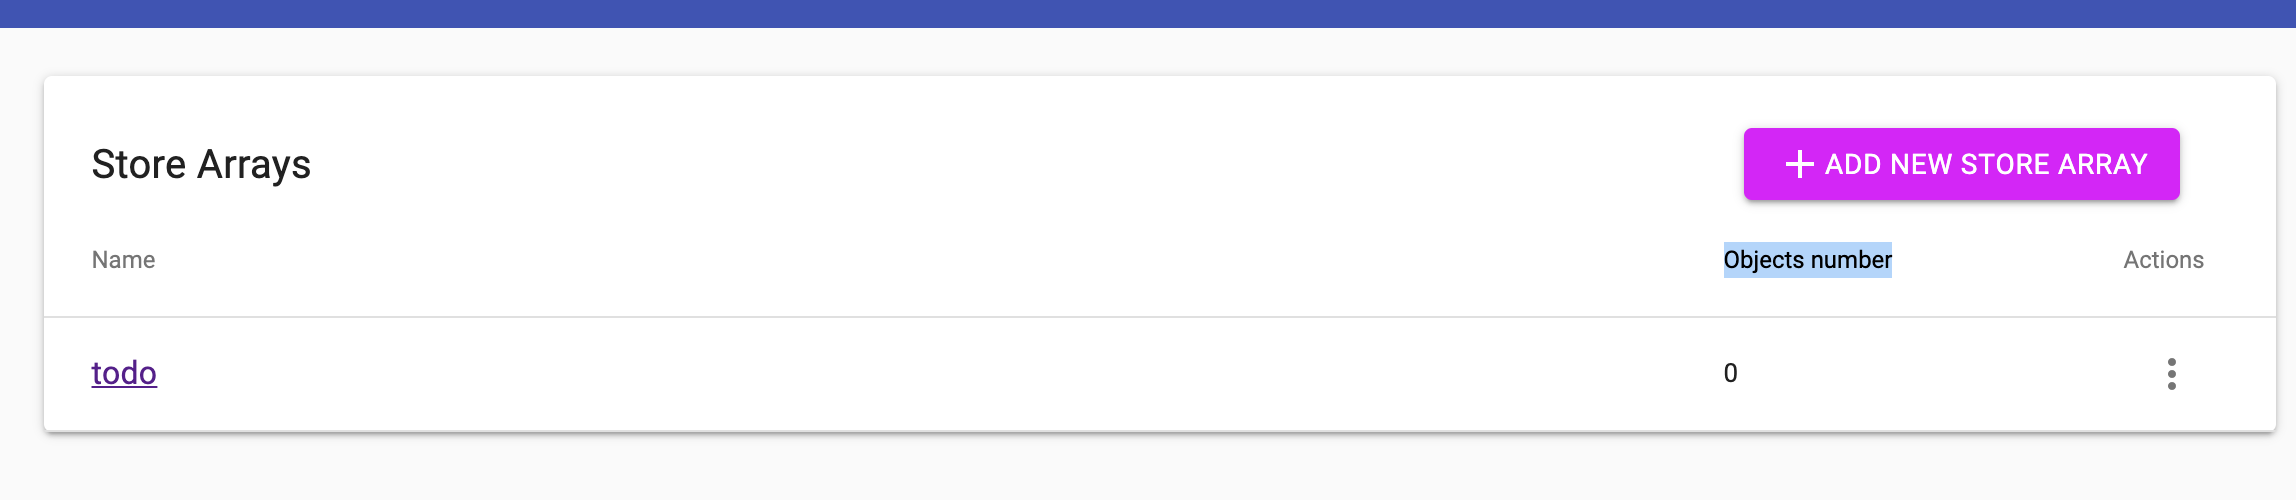
Store Arrays page:

Creating the Store Array
To create new Store Array press the + ADD NEW STORE ARRAY button. In the opened dialog fill the name and value and press ADD NEW STORE ARRAY dialog button.
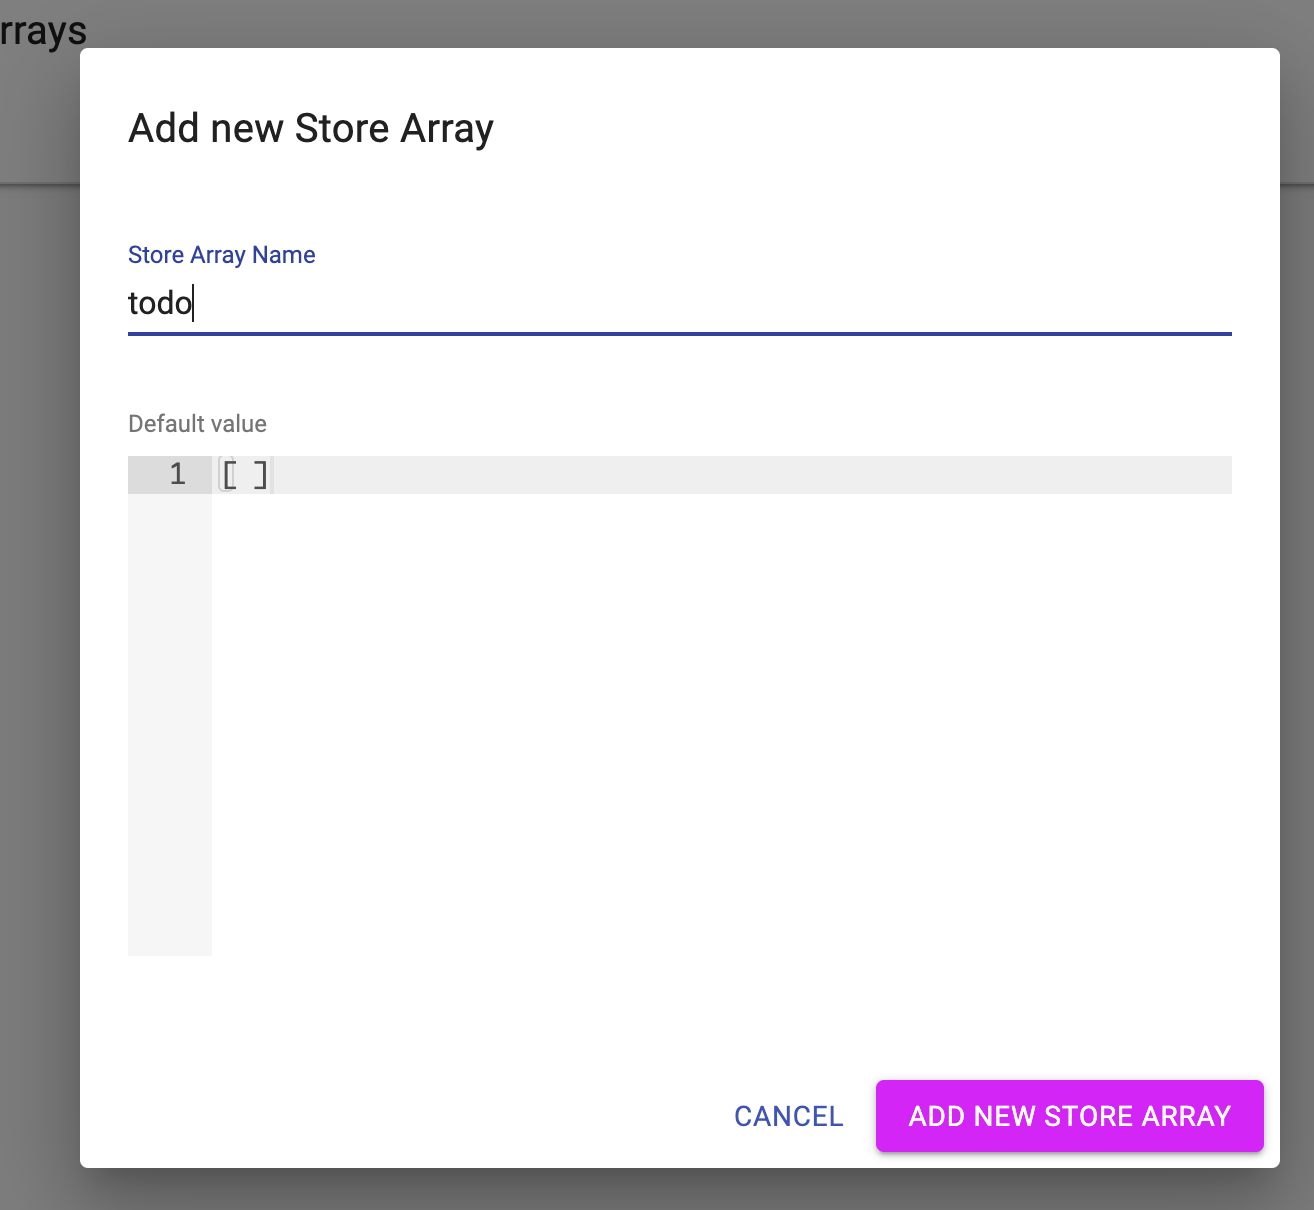
Note: The Value should be a valid JSON Array
Editing the Store Array
After you create or open existing record Edit form will be opened.

To make possibility to create initial data for the array you can use JSON Generator... dialog.
To open dialog press on the  button.
In the opened dialog in the right part a template and press Generate button.
button.
In the opened dialog in the right part a template and press Generate button.
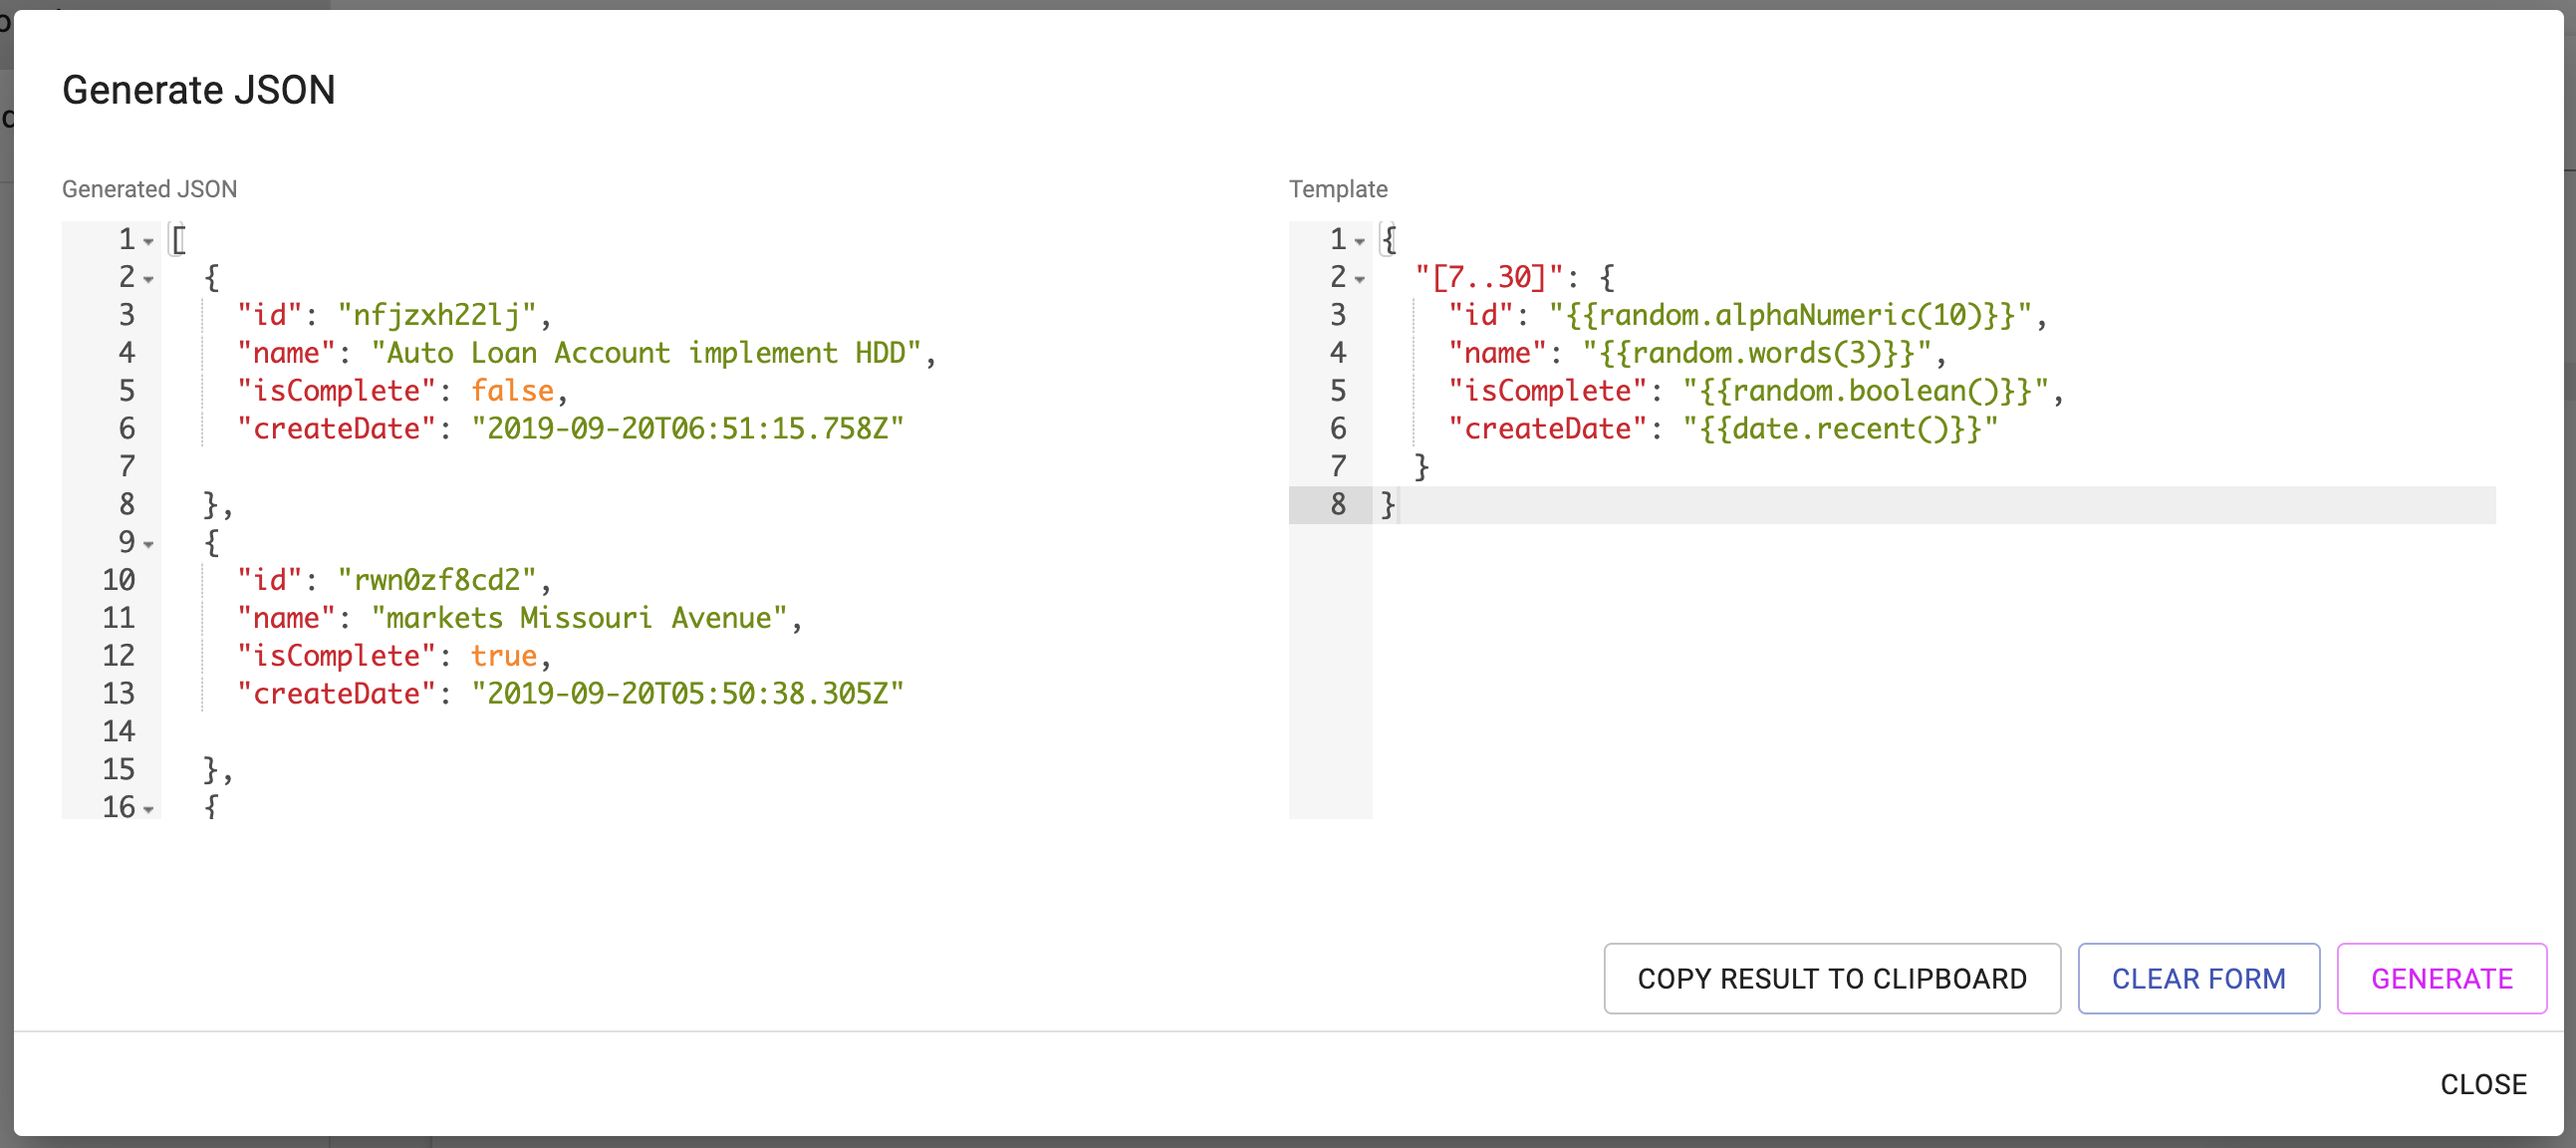
After JSON array is generated copy it to the clipboard and close the form. Paste JSON array to the Value field and save changes. Close the Edit Form. You can see the number of records in the Objects number column of the list.
Using Store Arrays in the methods
Please see an example of usage Store Arrays in the Scripting Overview section
Request History
In the Request History page. You can find a list of the requests to this project.

Each row could be expanded with detailed information about Request and Response data.

© Fake.rest 2019 - 2020